2020 Updates added
 |
| © 2018 David Hurst All Rights Reserved |
History
Built by Atkinson-Walker Wagons Ltd of Preston in September 1928 as one of their Class A.3 vertical boiler steam engines. Only a small number of 3ft gauge engines were built, most being of standard gauge. Engine Number 111 was acquired by the Red Lake Tramway in Devon, 114 was sent for trial at the Clogher Valley railway (which I have based this model on). Both were built and supplied at roughly the same time and two further engines were exported.
The Red Lake engine seems to have had a very different story to the Clogher Valley engine. Reported as a good engine, it worked on a Dartmoor tramway which served a china clay pit for its final 5 years before the pit's closure in 1933. This is a contrast to the short trial by the Clogher Valley Railway, in which it was found to be totally unsuitable.
By the end of 1929, Atkinson-Walker Wagons Ltd had gone out of business, and no buyer was to be found for the Clogher Valley engine, which lay idle at Aughnacloy coach and wagon shed until 1932. It was bought by Henry Forbes for the County Donegal Railway and converted at the Great Northern Railway’s Dundalk workshop to diesel power. It was fittingly renamed the “Phoenix” and worked on the County Donegal Railway until its closure in 1959. The Phoenix can now be seen in the Ulster Folk and Transport Museum.
 |
| © 2018 Paul Titmuss All Rights Reserved |
Model Scales
This is an unusual looking engine and makes a good subject to model for a narrow-gauge railway. It may not have skirts but the amount of detail at each side of the footplate does a good job of hiding whatever chassis is used. The initial model was drawn up in 4 mm scale to suit the Halling motor bogie at either 12mm gauge for 00n3 or 9mm gauge for 009.
A further version is being produced to suit the Kato 11-104 chassis in 009 has a slightly reduced
overall size to help it to blend in with the 9mm track and not look too top-heavy.
It will be
available in both 00n3 and 009 versions to print on Shapeways in Frosted Ultra Detail. If a suitable chassis can be found it is
planned to make it available in TTn3 3mm scale also.
With Frosted Ultra
Detail
it is advisable to soak in (Petroleum organic solvent – paint thinners) in order to remove the wax support
residue left from printing, then a wash in warm soapy water should leave the
surface ready for painting after it is fully dried. I use a grey or white
spray primer to prep the model for finishing. In some areas, it will be necessary to remove
print lines from the surface, and this can be done with a burnishing tool - I use a hardwood stick
with a rounded point to get in the tight spaces. By doing these processes before separating the print into its component parts you will be less likely
to lose any of the small pieces.
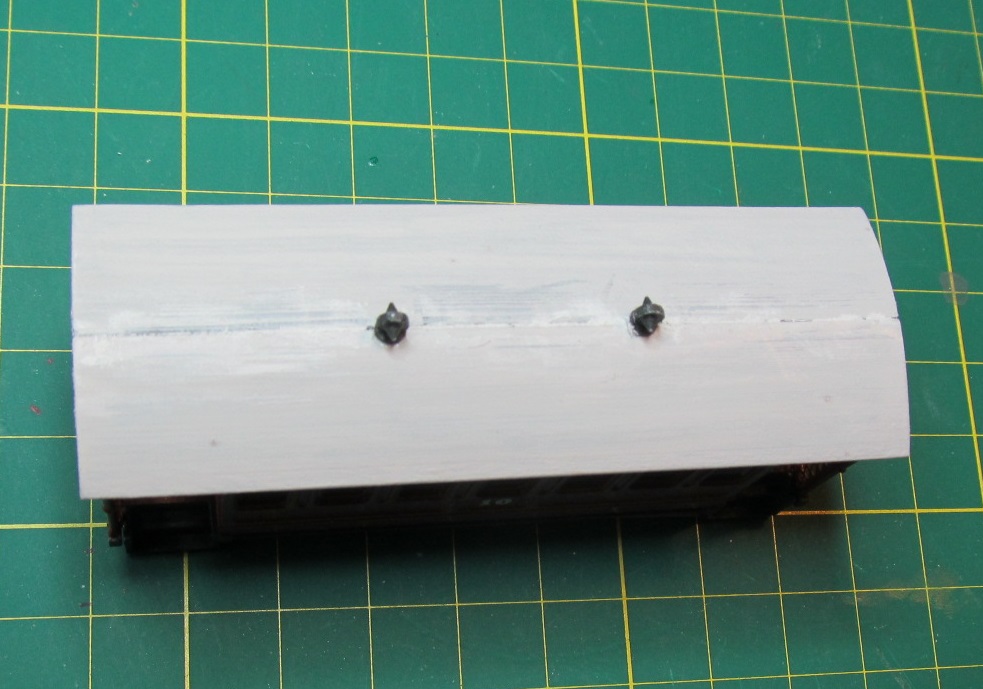
I have designed the
bodywork and footplate in one, with the
roof removable to allow for interior details and ballast to be fitted. Two work lamps, some steps and a pair of couplings are printed within
the main body of the loco. These all need to be removed before the chassis is fitted.
 |
| © 2018 David Hurst All Rights Reserved |
Ballast
There are recesses in the sides of the cab openings which I have filled with lead sheet.
This should give
sufficient weight to the engine for traction and electrical pickup.
Fitting the chassis
With the Halling chassis, it is a straight forward fit between the two pressure plates front and back. It may be necessary to file a small amount off the inside of these plates or add a shim on so you get a snug fit, but this depends very much on the printing process and is difficult to predict. The wheels will need to be adjusted to suit the model, only one wheelset needs moving into the centre, the chassis will then be off set back to front on the model.
 |
| © 2018 Paul Titmuss All Rights Reserved |
The Kato chassis will need to be cut down to fit, the coupling mounts need to be cut off each end and also the axle boxes will need to be removed from the sides.
 |
| © 2018 David Hurst All Rights Reserved |
Wire-work
There is not a great amount of wire-work on this model; just the handrails each side of the cab door openings. For this, I have used 0.45 mm brass wire and drilled out the pilot holes to a little deeper to suit the wire.
 |
| © 2018 David Hurst All Rights Reserved |
On the 00n3 model, the wire from the handrail was taken down to form the supports on the steps, this was done by drilling through the footplate and making the wire for the handrail long enough to be bent under the steps also.
Sanding feeder pipes were also added under the sandboxes and bent back towards the wheels.
 |
| © 2018 Paul Titmuss All Rights Reserved |
Couplings
A pair of printed couplings are supplied with the models. On the 00n3 they are printed under the footplate while on the 009 they are printed under the roof, along with the other small detail parts such as the steps and work lamps. For the prototype models, We have used Greenwich type couplings on both the 00n3 & 009 versions.
 |
| © 2018 David Hurst All Rights Reserved |
Glazing interior
details
For the windows I have used thin acetate saved from old packaging which is glued with a contact adhesive or Cyanoacrylate glue (super glue) and is great if you have curved or awkward shaped glazing, being thin and flexible to use. I fit the glazing when building the model, and then fix it in place in the final stages after the painting is completed, and before any weathering is done.
Painting
After initial preparation of the model, it was given a couple of light coats of matt grey primer, then burnished and smoothed, with a final coat of primer to finish off. As the Clogher Valley engine was never given a paint finish, we can do what we feel is right for our individual layouts. I chose to do the footplate, roof lower buffer beam and handrails, in a charcoal grey Revel No 09.
I dry brushed a little silver around the mechanical parts under the footplate which highlights the details; also some gloss varnish gives the impression of oil on these areas. Leaving the grey as the body finish. The upper buffer beams have been painted in a red mixed with dark grey.The impression of general dirt and grime was added to some areas of the bodywork, footplate, and buffer beams roof and running gear with a dry-brushed application of Revel Matt No 43 grey and No 87 grey/brown mixed.The final little bit of detail was to add the work lamps and lenses. For these I used 4mm Clear Rhinestones, fitted after the painting was completed.The steps can be added to each side of the cab when the detail under the footplate is completed this makes it a much easier and neater job 009 models only. On the 00n3 model, the steps are printed as part of the footplate.I finished overall areas with a coat of matt varnish. I then added weathering with powdered wax pastels, using mixes of brown and black, to give the engine an overall weathered and unused appearance.

In early 2020 Kato introduced there new and updated versions of their popular 11-103 and 11-104 chassis, these are now phasing out and being replaced by the 11-109 and 11-110. With this change, I have made some simple alterations to my models using these chassis.

In early 2020 Kato introduced there new and updated versions of their popular 11-103 and 11-104 chassis, these are now phasing out and being replaced by the 11-109 and 11-110. With this change, I have made some simple alterations to my models using these chassis.
 |
| © 2018 David Hurst All Rights Reserved |
 |
| © 2018 David Hurst All Rights Reserved |
 |
| © 2018 Paul Titmuss All Rights Reserved |
 |
| © 2018 David Hurst All Rights Reserved |
If you would like a copy of this model it is available on Shapeways at Model Engine Works:
https://www.shapeways.com/product/9C7EPEEU8/009-atkinson-walker-steam-tractor?optionId=65166453
https://www.shapeways.com/product/96BJYVAJX/00n3-atkinson-walker-steam-tractor?optionId=65340036
https://www.shapeways.com/product/96BJYVAJX/00n3-atkinson-walker-steam-tractor?optionId=65340036